


How to Refinish a Shower Pan (Shower Base): Step-by-Step Guide
Refinish a shower pan instead of replacing it. Follow each step: prep, masking, mixing, pouring and cure time.
- Odorless
- Pour-on
- One coat
Why Armoglaze
Why choose our shower base kit
Built for the one surface that handles water and foot traffic every day.
-
Seals cracks and prevents pooling
A smooth, watertight surface with no puddles.
-
Optional slip-resistant coating
Safe footing on a wet base.
-
Designed to withstand continuous water exposure.
A durable coating that won't peel around the drain.
-
Odorless & non-toxic
Finish your project at home safely and securely, suitable for the entire family.
-
Fits any base material
Fiberglass, acrylic, tile, concrete, or terrazzo.
-
Skip the costly tear-out
Restore your base instead of replacing it
Refinish your shower pan instead of replacing it
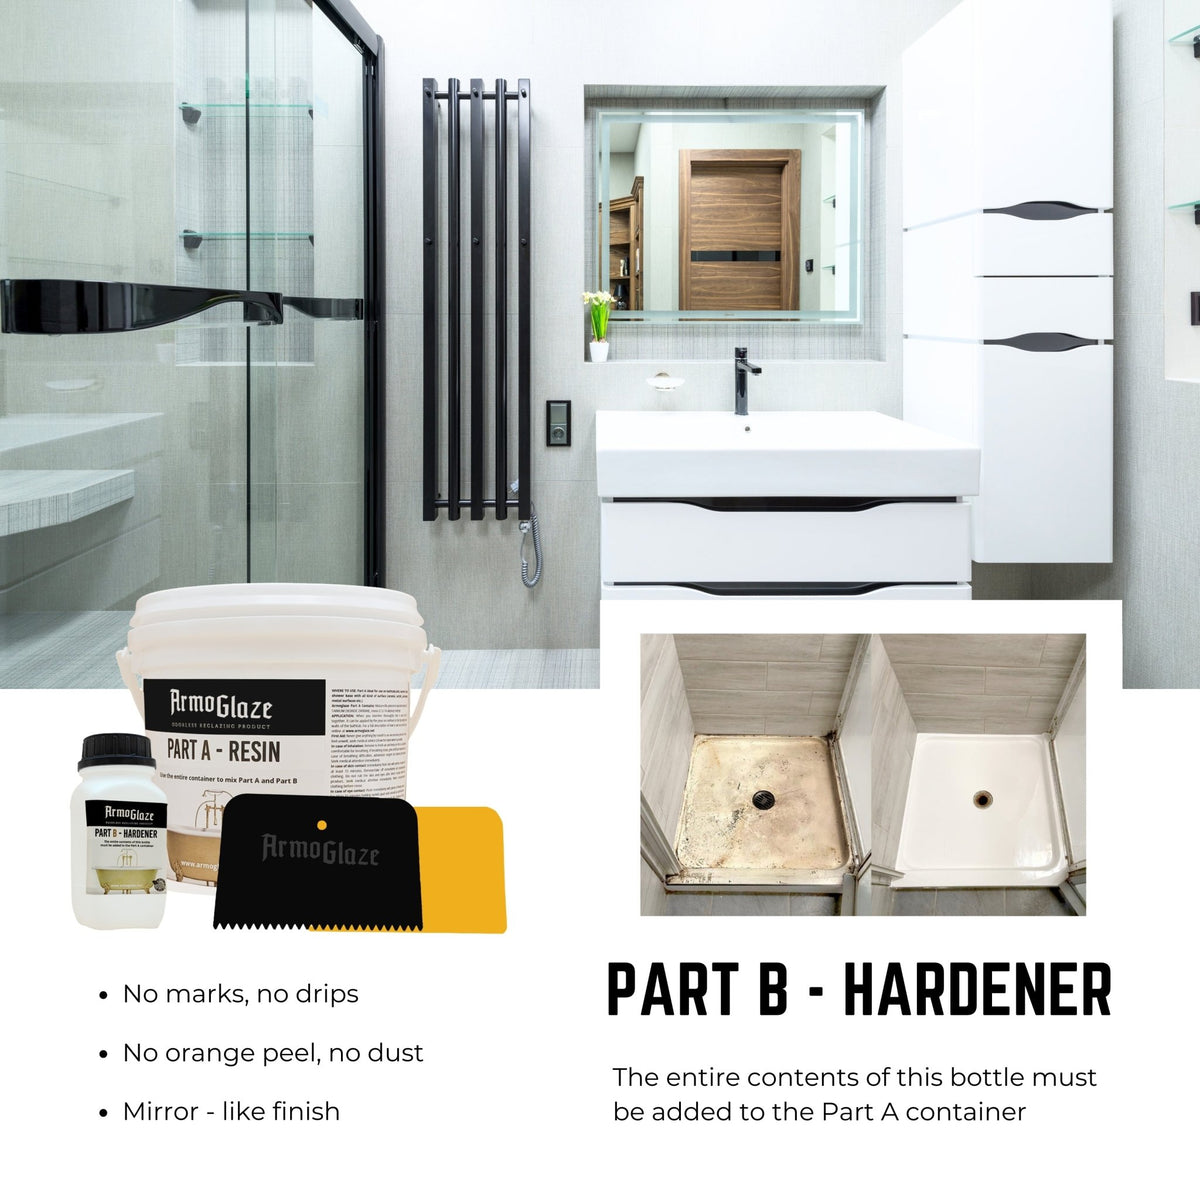
A shower pan, also called a shower base, can be refinished instead of replaced. This guide shows every step with the Armoglaze pour-on kit: preparation, masking, mixing, pouring, finishing and cure time. Prepare everything first and mix last. Watch the video, follow the drawing, and download the printable PDF.
In the box
What's in the Armoglaze Kit?
-
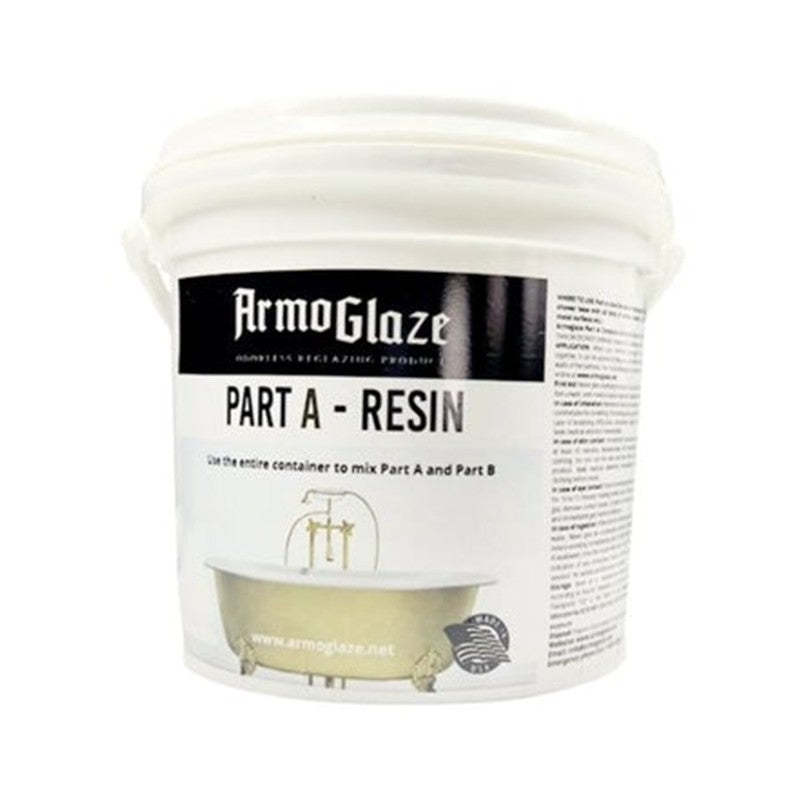
Armoglaze Part A
Professional-grade resin for a lasting, glossy finish.
-
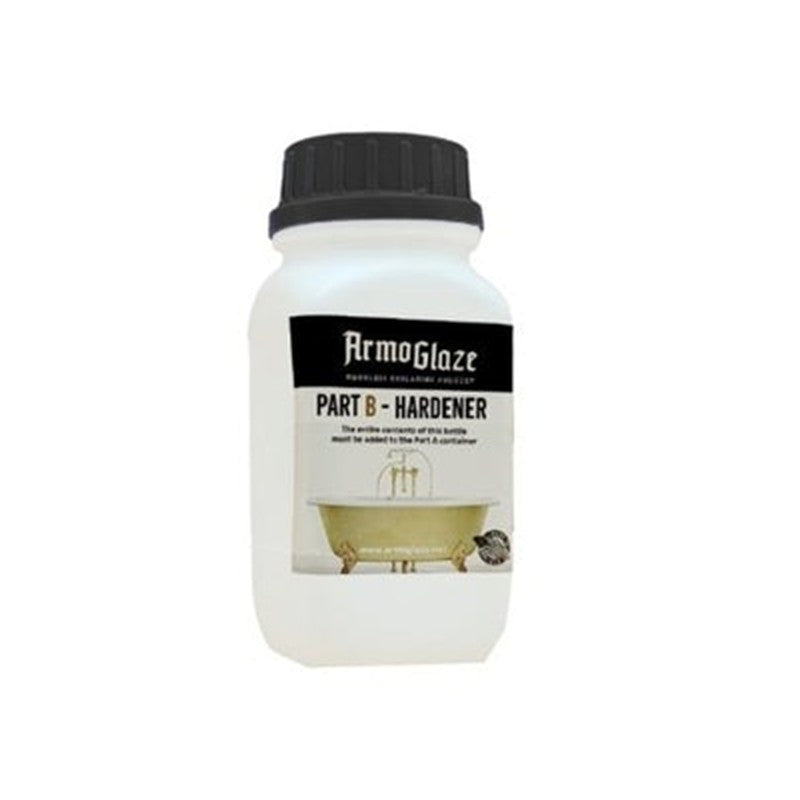
Armoglaze Part B
Hardener that activates the self-leveling glaze formula.
-
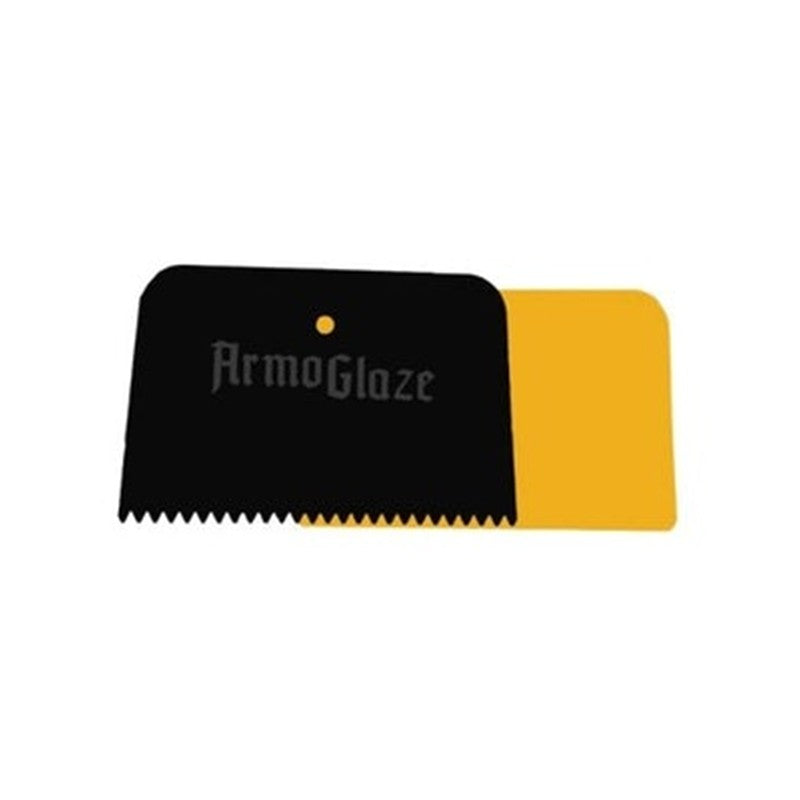
Tools
Scraper and accessories for smooth, even application.
-
User Guide
Step-by-step instructions for a professional DIY result.
See how easy it is
Refinish your shower base with confidence
Watch the full process start to finish, then keep the printable guide handy while you work.

Application guide
Refinish your shower base, step by step.
Follow the drawing from preparation to cure. Do all the preparation first and mix last.
Fig. 03
Step 1 of 9
Guide progress0%
-
- Keep the room, the shower base and the product between 68–77°F (20–25°C).
- Approximately 2 hours: the working time is 90–100 minutes after Part A and Part B are combined.
- Prep first, mix last: finish all the preparation before you mix.
- You will need: razor-blade scraper, waterproof sandpaper (#180–220), sponge, abrasive cleaner (Comet or similar), masking tape (1–2 in.), pre-taped masking plastic, 2–3 disposable cups (15–20 oz.), the spreaders from the kit, heat gun or hair dryer, rubbing alcohol 91–100%, mixing stick, gloves and 2–3 rolls of paper towels.
Preparation is the most important step. Oil spots, old paint or soap remnants left on the surface can make even this enamel peel off.
-
- Find out whether the shower base was refinished before. Signs are paint coming off in places or visible brush and roller marks. Scrape the spots where the paint is peeling.
- If it was refinished before, remove the old coating completely, down to the original factory surface. Scrape and sand with #180–220 sandpaper. If it was never refinished, go to the next point.
- Remove all old silicone and caulk with a drywall knife and the razor-blade scraper. Feel the spots with your fingers: thin or clear silicone is hard to see. Scrape again with a new blade or sand it down.
No silicone should remain on the surface to be coated.
-
- Scrape the whole shower base first with the razor-blade scraper. Remove soap, grease spots and paint drops, including the top edges and the front part of the base.
- Wash with an abrasive cleaner such as Comet and a sponge. Rinse it well.
- Dry completely with a hair dryer. Pay special attention to the corners and the drain area.
- Degrease: wipe the whole surface with a paper towel dampened with 91–100% rubbing alcohol. Let it dry completely, about 15–20 minutes.
Do not touch the surface with bare hands after degreasing.
-
- Protect the floor and the side wall with pre-taped masking plastic. Do not use masking paper.
- Run masking tape along the bottom edge so it extends about 1/8 in. up the shower base. This stops the coating from running under the plastic.
- It is fine if the area under the tape is not refinished. It will be covered with silicone after the coating has cured.
- Drain: mask the drain only. Do not extend tape onto the shower base. Use two layers of masking tape.
Before mixing: checklist
Make sure the coating cannot enter the drain.
-
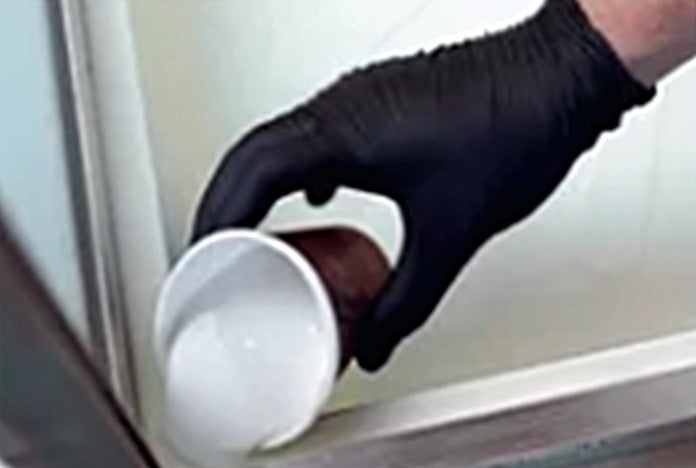
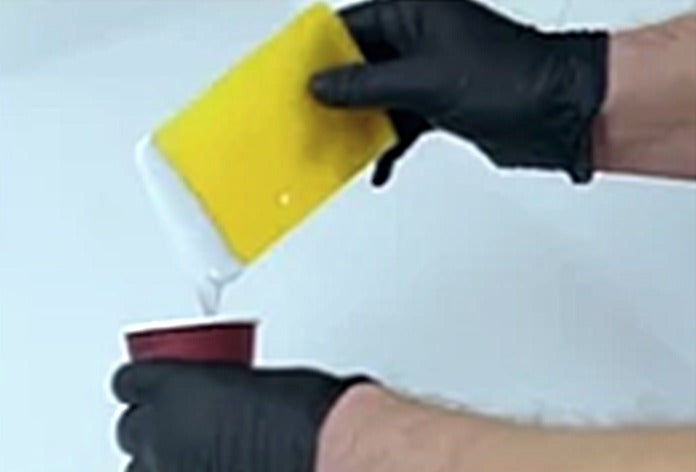
- Pour the entire contents of Part B into Part A.
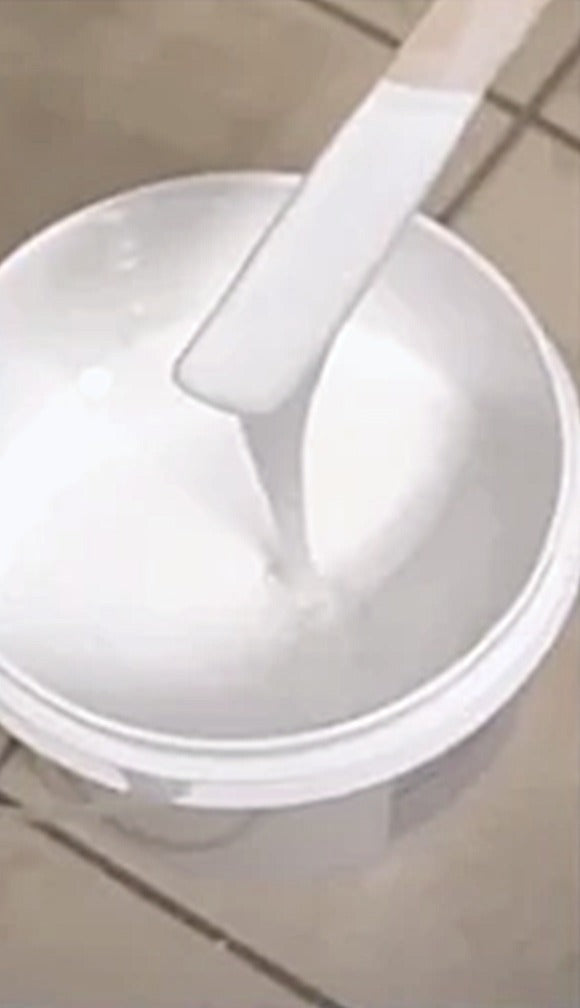
- Mix slowly by hand with a wooden paint stick for 7–10 minutes. Scrape the sides and the bottom. Mix until completely uniform.
- Let the mixture sit for 2–3 minutes so the bubbles can pop, then begin the application immediately.
- After about 2 hours from mixing the coating starts to thicken, so time yourself.
Do not use a drill or an electric mixer: high speed traps air bubbles. Coating that is not mixed well with the hardener will not harden.
-
- Work in this order: top edges, walls, bottom.
- Start at the top edges and pour the coating evenly down the inside walls. Spread it with the plastic spreader (included) using vertical movements. Avoid too much material on the bottom at first.
- When the walls are evenly coated, spread the remaining material across the bottom.
- Do not let a thick layer pool on the bottom: the normal thickness is 1/16 in. or less. Remove the excess with a spreader.
- Supplied spreaders: the plastic spreader is for the walls and excess, the long-tooth spreader is for levelling.
-
- Level: make several light passes in different directions with the long-tooth spreader. Move it only on the surface of the coating. Do not press down to the original surface.
- Bubbles: briefly pass a heat gun over visible air bubbles.
- Check that the thickness on the bottom is less than 1/16 in.
Do not overheat the coating or hold the heat gun in one place.
-
- Remove the coating from the masking tape over the drain.
- If you are refinishing the front of the shower base, apply the coating with the same method: spread it, level it with light passes and remove visible air bubbles with the heat gun.
-
- At about 2 hours from the time Part A and Part B were combined, move the pooled coating on the floor away from the shower base.
- Remove the protective masking plastic from the floor and walls.
- Remove the masking tape from the drain.
- Clean the surrounding walls and floor with rubbing alcohol if necessary.
- Leave the shower base to cure for 36 hours. Keep the surface clean, dry and undisturbed.
Do not use the shower for 36 hours. Do not allow pooled coating to fully cure on the protected surfaces: it is practically impossible to remove once it cures.

Premium shower base reglazing kit
Achieve a sleek, factory-like shine effortlessly with the Armoglaze shower refinishing kit! It permanently fixes cracks and stains and creates a tough, waterproof surface that looks and feels brand new -without the cost and hassle of a full replacement.
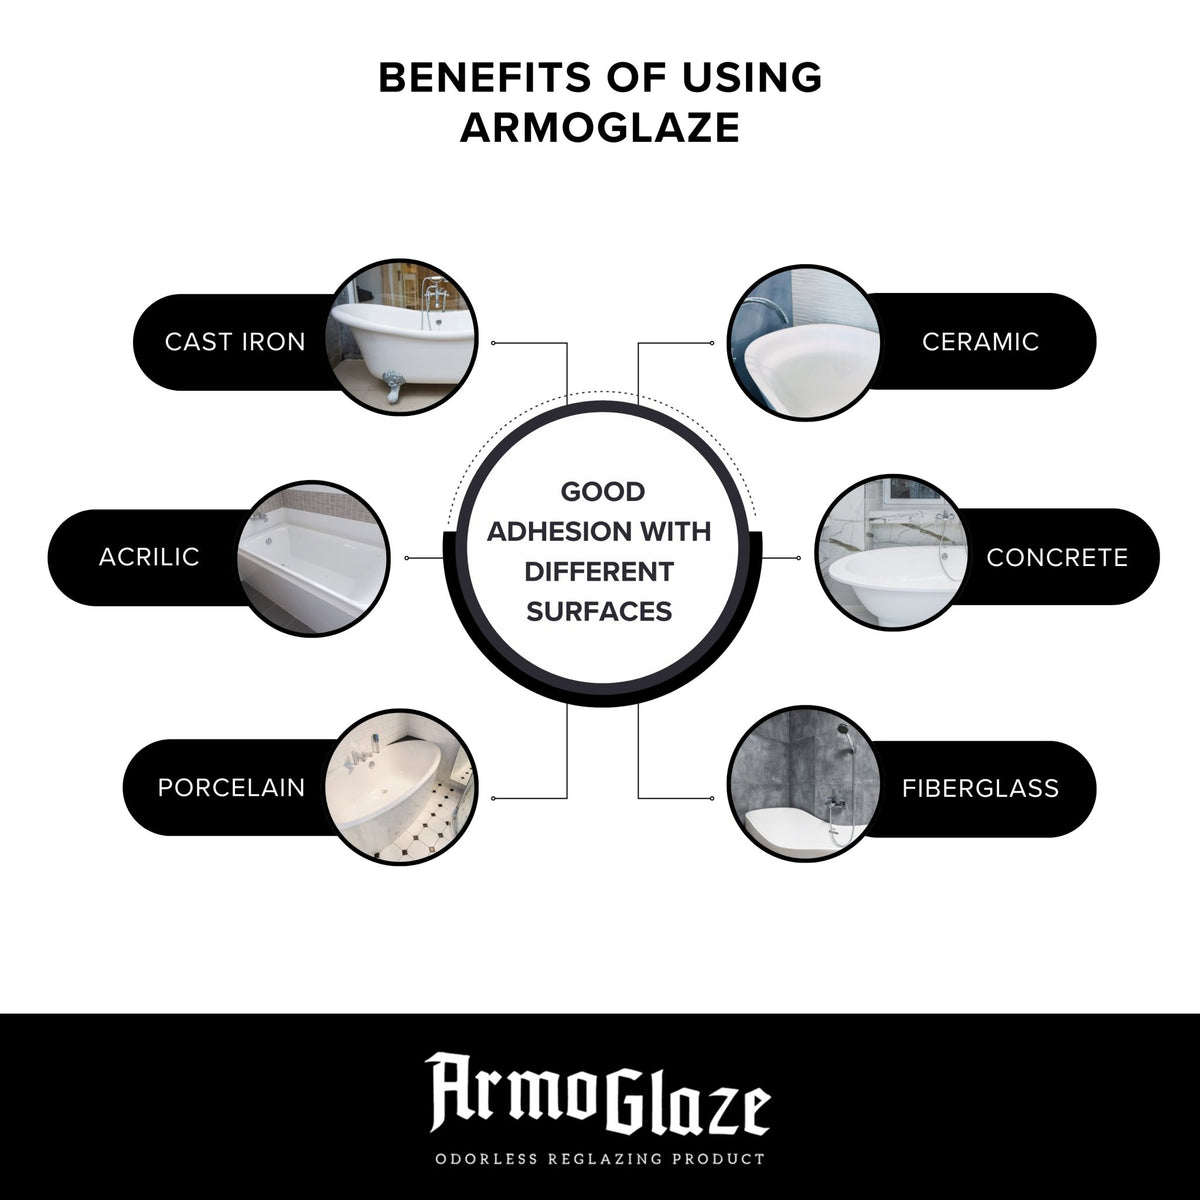
The kind of shower base you possess is irrelevant.
Whether your shower base is fiberglass, acrylic, or cultured marble, our formula guarantees strong adhesion for a flawless finish. We provide all the necessary essentials to properly prepare the surface — the key step towards a successful outcome.
Perfect for DIY enthusiasts
Results matter most. The Armoglaze system is meticulously crafted to deliver a finish that looks like a professional job, eliminating common imperfections found in other kits.
Shower base refinishing
Give Your Shower Base Modern & New Life
- Improve all surface imperfections
- Odorless process
- Give your shower base a second life
- Long-lasting beauty
 Zero VOC · Odorless
-
NO HARMFUL FUMES OR TOXINS
Unlike traditional refinishing sprays, our formula is odorless, non-toxic, and environmentally friendly, making it a safer option for indoor use.
-
Expert Craftsmanship
Every detail is meticulously designed and tested to ensure the highest standards of excellence and reliability.
-
Suitable for homes, rentals, and hotels
Whether you're refinishing a bathtub, shower base, or sink, you can trust Armoglaze to be safe for children, pets, and indoor air, making it suitable for both residential and commercial settings.